
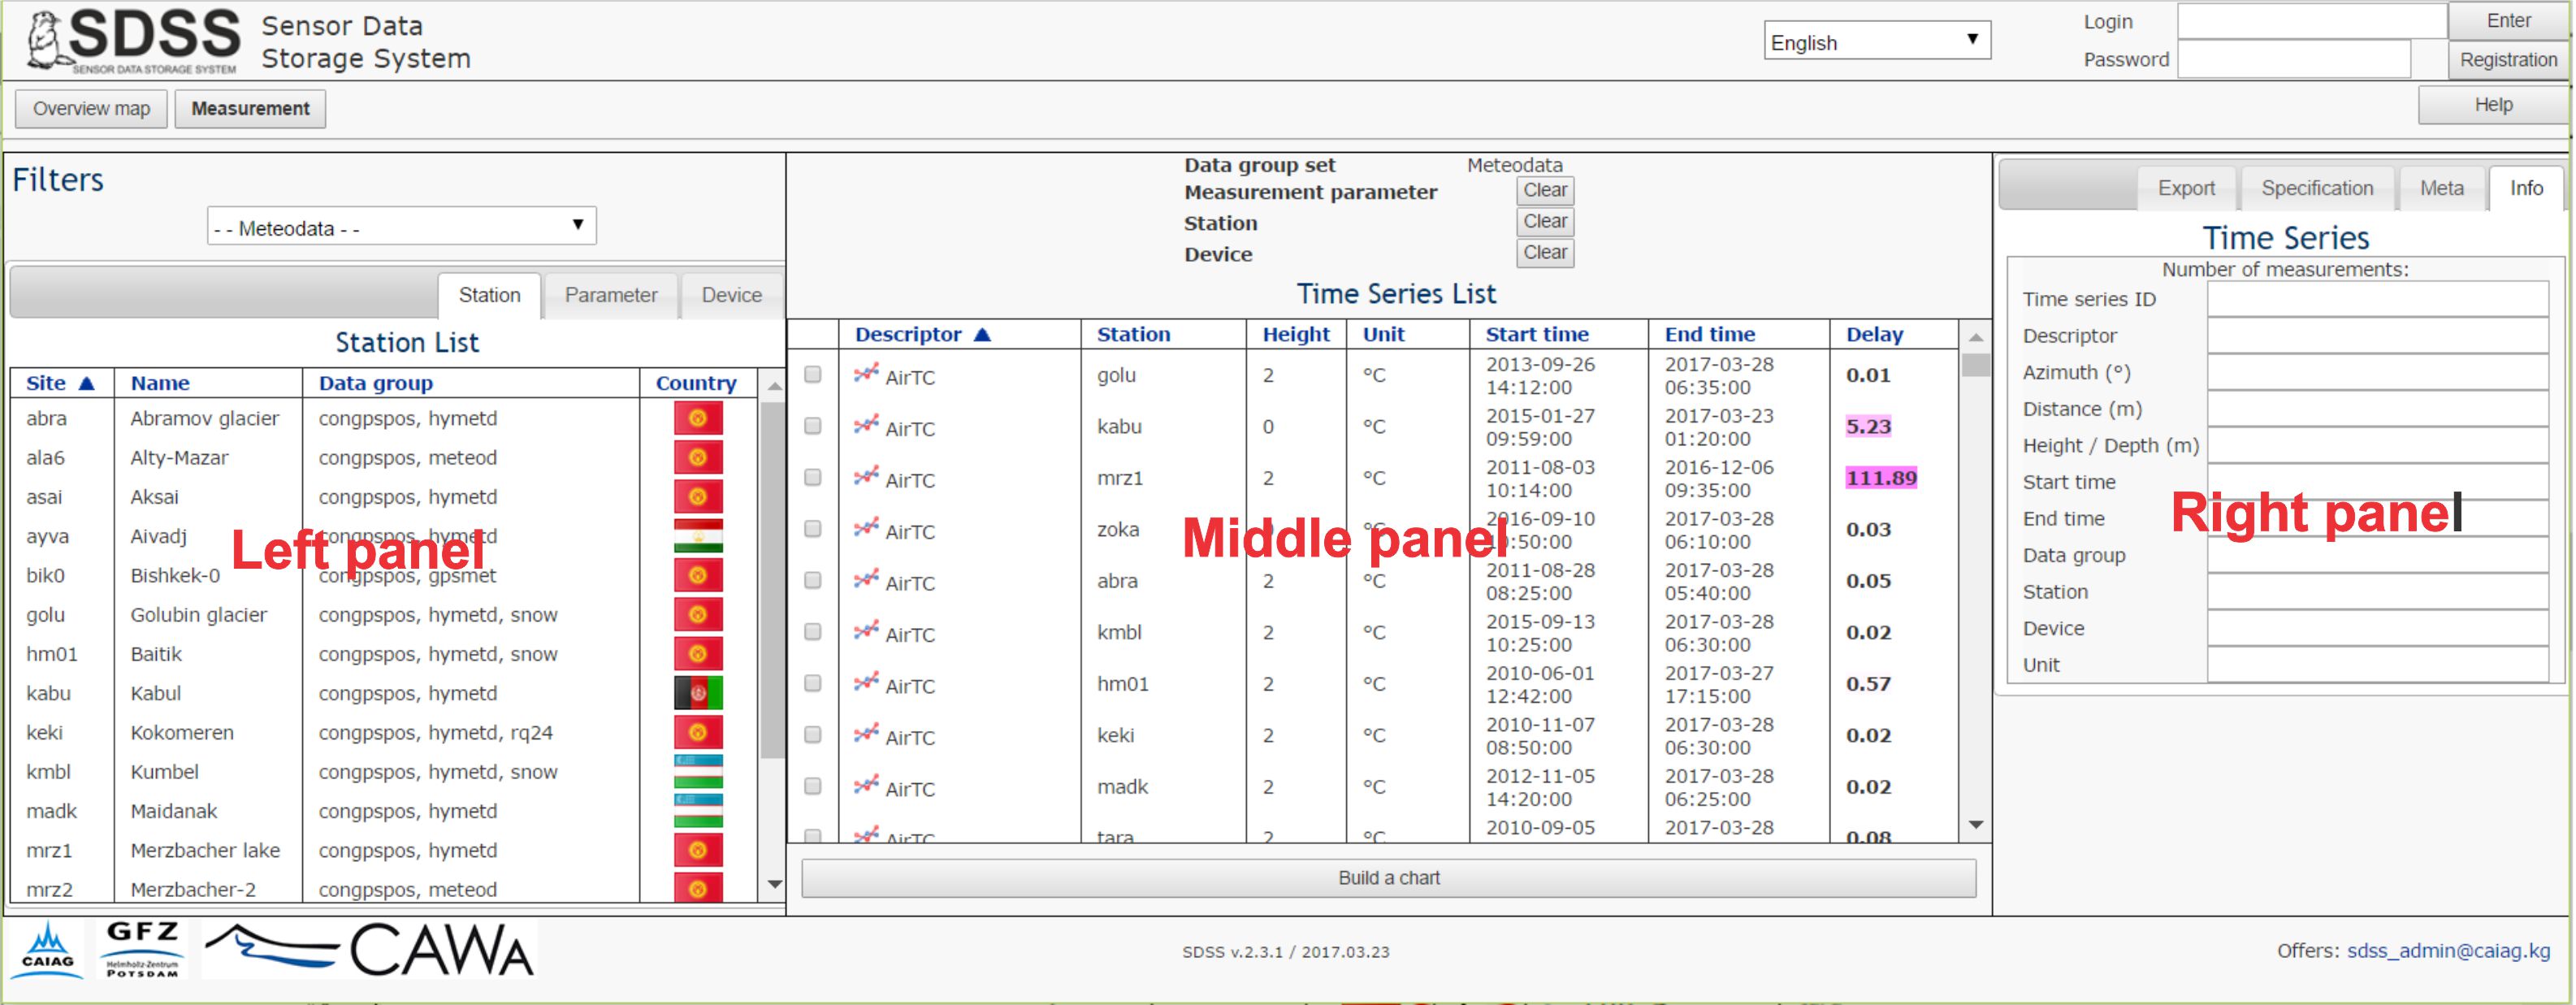
All SDSS pages have similar structure with same top and bottom parts but different the central areas. Upper left corner of each page contents the SDSS logo with the system name
clicking on which you can go to page Contents of the Help. The page for unregistered users looks like below
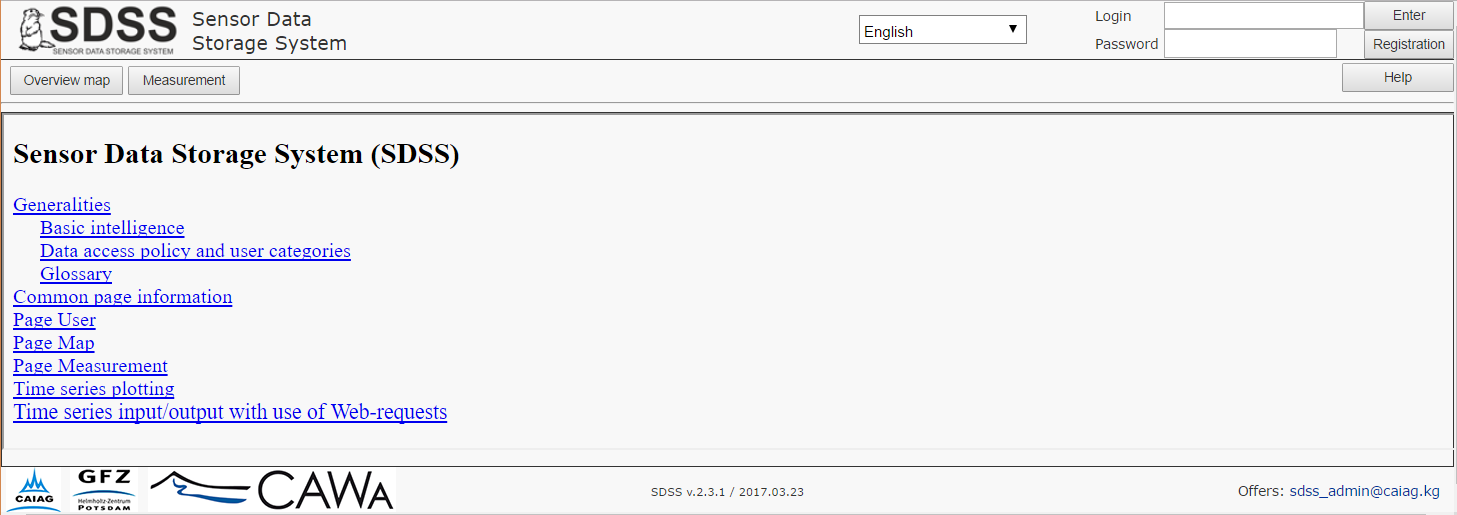
All lines of the Contents are links where you can go to the relevant help information.
To the right of the logo there is a drop-down list for working language selection and after that - entry fields for login and password with the Login and Registration buttons. If the user is not already registered in SDSS, he/she can do it by clicking the Register button. In this case he/she will go to the User page, where can register and entering person data can get the Specialist category. This category allows the user to open data with restricted access, if such rights are granted to him/her by the data owner. Unregistered users do not have such the opportunity to open data with restricted access. If the user is already registered in the system he can enter the login and password, and then click the Login button. The top page part will be changed

Term of the logging state in SDSS (if you did not press the button [EXIT])
is
one week. During this time you do not need to log every time
when opening the SDSS pages. After one week expires, the session is
automatically closed and you need to log into SDSS again. To exit from
the system, click the button [EXIT].
Under the elements described above the menu bar is located. Its composition depends on the user category. For unregistered users, the menu contains 3 items: Overview map, Measurements and Help

Each page in its left bottom corner includes logos:

Clicking on any of these logos, you can get to the websites of these organizations and CAWa project.
On right of the logos, the SDSS version and Email address are shown. The email can be used to send any user suggestions for improvement of the system.
The central areas of all pages are different, their content depends on the page destination. But usually all of them have 3 panels: left, middle and right.
The panel width can be changed. To do this, move the mouse cursor over the border between the panels, its view will take the form of a two-pointed arrow
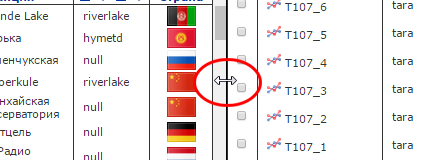
Move it to right and left with the left mouse button pressed - the horizontal size of one panels will be changed.
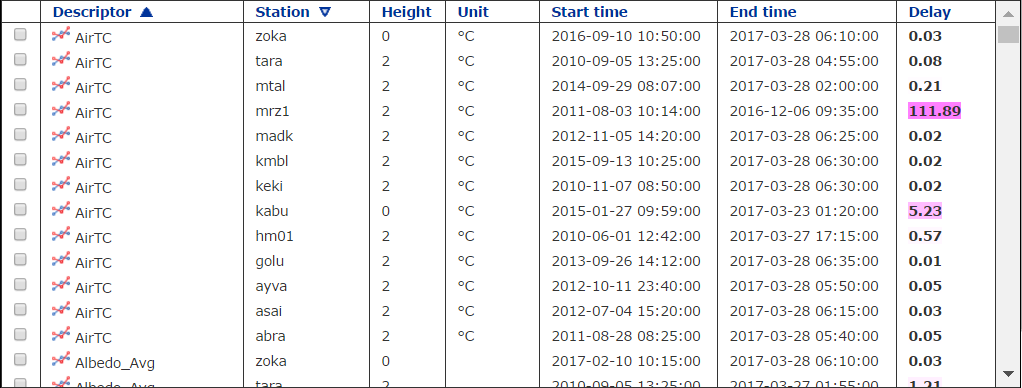
One of the main elements of all pages are tables. The tables consist of columns separated by vertical lines. The top row of the table contains the column headings, which are shown in bold blue color
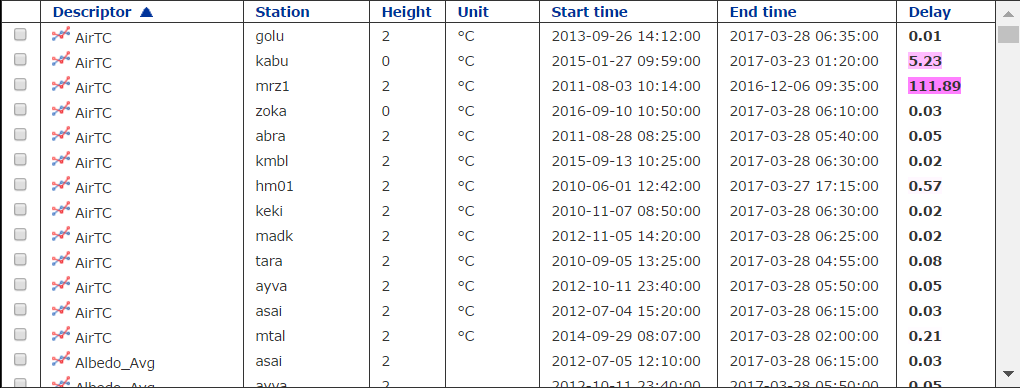
Tables can be sorted by any two columns simultaneously. To do this, click on the title of the necessary column - instead of the title the triangle icons appear. They indicate the primary (dark triangles) or secondary (light triangles) sorting in increasing (acute angle of the triangle points upwards) or descending orders (the acute angle is directed downwards). Clicking on one of the triangle icons, you sort the table by this field, after that corresponding trianglel appears on right of the column heading. If you click on the light triangle which means the secondary sorting and the primary one was not be done yet, the table will be sorted by this column, on right of which there will appear a dark triangle. Secondary sorting is carried out if only the primary sorting has already been done
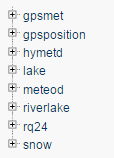
Some pages can have the trees with a hierarchical structure instead of tables. Typically, the number of hierarchy levels is 1 to 3. In a compact form the top-level rows are displayed only
In this case, the lines are preceded by a plus sign in a small square. Clicking on this sign you can expand the tree branch after that instead of the plus sign, a minus sign appears in the square.
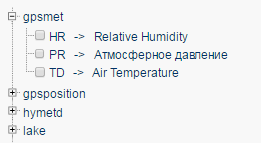
Click on the minus sign to collapse the tree branch.
Depending on a purpose of the tables and trees,
their raws can have control elements: checkboxes  or radio buttons
  , which are used to select required rows.